Category: Equipment

  • The Best Dutch Oven for Bread (You Don’t Need an Expensive One)

    The Best Dutch Oven for Bread (You Don’t Need an Expensive One)

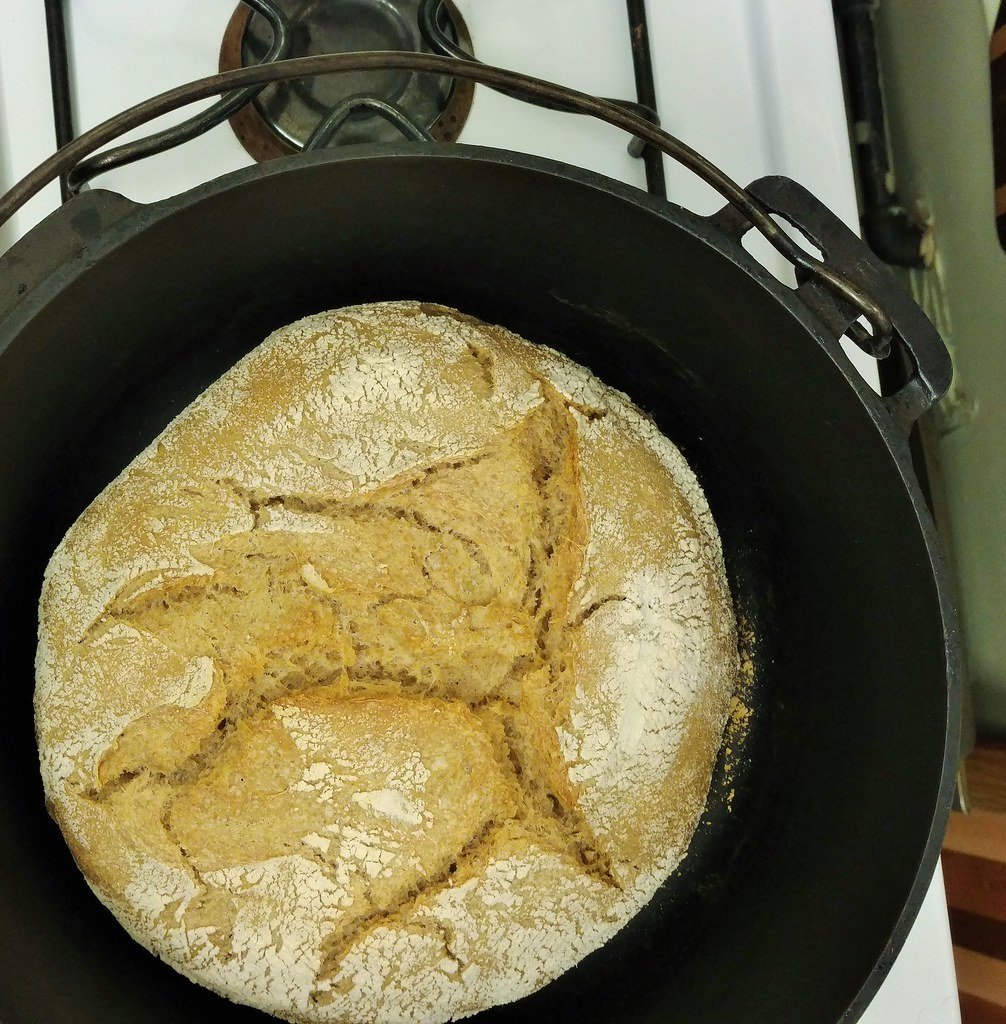
    A Dutch oven is the single piece of equipment that most improves home bread, because it solves the one thing home ovens are bad at: steam.

    It’s also where people waste the most money. Here’s what actually matters.

    Why it works

    Professional bread ovens inject steam. Steam keeps the crust soft during the first minutes of baking, letting the loaf expand fully before the crust sets — that’s oven spring. A home oven vents steam almost immediately.

    A heavy lidded pot fixes this by trapping the dough’s own moisture. For the first 20 minutes the loaf effectively bakes inside a tiny steam oven; take the lid off and it browns. That’s the whole trick, and a cheap pot does it as well as an expensive one.

    What actually matters

    1. Size: 4.5–6 quarts

    The most important spec. Too big and the dough spreads before it sets. Too small and it hits the sides. A 5-quart round pot fits a standard 900g loaf almost perfectly.

    2. A knob rated to 500°F

    The most common expensive mistake. Many enameled pots ship with a plastic or phenolic knob rated to 400–450°F, and bread wants 450–500°F. Metal knobs solve this. Some brands sell a replacement metal knob for a few dollars — worth checking before you buy a new pot.

    3. Heavy, even material

    Cast iron — bare or enameled — holds and radiates heat far better than thin stainless. The thermal mass is what gives a strong initial burst of heat.

    4. A tight lid

    If steam escapes, the point is lost. It doesn’t need a gasket, just decent contact.

    What does not matter

    • Brand prestige. The bread cannot tell.
    • Colour and enamel finish. Cosmetic. A dark interior hides scorching better; that’s all.
    • Oval vs round. Round suits boules, oval suits bâtards. Round is more versatile.

    Our picks

    Best value
    Lodge 6-quart enameled cast iron Dutch oven

    Hits every requirement that matters — heavy cast iron, tight lid, right capacity — at a fraction of the premium brands. The most bread per dollar you can buy. Confirm the knob's temperature rating and swap in a metal one if needed.

    Check price on Amazon →
    Affiliate link — we may earn a commission at no cost to you.
    Cheapest thing that works
    Bare cast iron combo cooker

    A skillet plus a deep lid. The shallow half makes loading a wet dough far easier than lowering it into a deep pot, and there is no enamel or plastic knob to worry about at 500°F. Requires seasoning, not scrubbing.

    Check price on Amazon →
    Affiliate link — we may earn a commission at no cost to you.
    If you bake constantly
    Dedicated cast iron bread oven with shallow base

    Purpose-built pans with a shallow base and domed lid make loading safer and score-friendly. Worth it only if you bake weekly — it is a luxury, not an upgrade in results.

    Check price on Amazon →
    Affiliate link — we may earn a commission at no cost to you.

    Before you buy anything

    If you own any heavy lidded oven-safe pot, use it first. A stock pot with a metal lid, a deep casserole, even a roasting pan with a metal bowl inverted over the loaf will produce most of the benefit. Bake a few loaves, confirm you enjoy this, then spend money.

    How to use it

    1. Preheat the empty pot with the oven at 475–500°F for at least 30 minutes. A cold pot gives up most of the advantage.
    2. Load the dough on parchment — safer than trying to invert into a screaming-hot pot.
    3. Lid on, 20 minutes.
    4. Lid off, 20–25 minutes, until deeply browned and 205–210°F inside.
    5. Cool on a rack at least two hours before cutting. See why cutting early makes bread gummy.
    Related

  • What You Actually Need to Bake Bread (And What You Don’t)

    What You Actually Need to Bake Bread (And What You Don’t)

    Bread is flour, water, salt, and time. People have made it for thousands of years without a single item sold in a kitchen shop. Almost everything marketed to home bakers is optional.

    That said, a few things genuinely help. Here they are in the order they’re worth buying.

    Buy first

    1. A digital scale

    The highest-impact purchase on this page, and usually the cheapest. Volume measurements for flour are wildly inconsistent — a cup can vary by 20% depending on how it’s scooped. That alone explains a great many failed loaves. Baking by weight makes results repeatable.

    Buy this before anything else
    Digital kitchen scale (1g resolution)

    Any scale that reads to 1 gram and has a tare button will do. This single change fixes more baking problems than any other purchase.

    Check price on Amazon →
    Affiliate link — we may earn a commission at no cost to you.

    2. An instant-read thermometer

    Two uses: confirming your loaf is baked (205–210°F) and measuring dough temperature, which is the variable that actually controls fermentation speed.

    Second purchase
    Instant-read digital thermometer

    Removes the guesswork from doneness and lets you ferment by temperature rather than by someone else's clock.

    Check price on Amazon →
    Affiliate link — we may earn a commission at no cost to you.

    3. A heavy lidded pot

    For steam. You may already own something that works — see our Dutch oven guide before spending.

    Buy later, if at all

    • Banneton (proofing basket). Makes a pretty spiral and wicks moisture from the surface. A bowl lined with a floured tea towel does the same job. Nice, not necessary.
    • Lame (scoring blade). A razor on a stick. A sharp paring knife works; a plain razor blade works better and costs almost nothing.
    • Bench scraper. Genuinely useful for handling wet dough and cleaning the counter. Cheap. Buy it when you get tired of dough on your hands.
    • Dough whisk. Mixes shaggy dough slightly better than a spoon. Marginal.

    Skip

    • Bread machines, if your goal is artisan-style loaves. They make a specific kind of soft sandwich bread well and cannot produce an open crumb or a proper crust.
    • Proofing boxes. Your oven with the light on, or the top of the fridge, is free.
    • Sourdough starter kits. You can make a starter with flour and water in about a week. Paying for one buys time, not capability — see the 7-day guide.
    • Specialty flours, at the beginning. Learn on supermarket bread flour first.

    The one upgrade that isn’t equipment

    Switching from all-purpose to bread flour costs about a dollar more per bag and adds real strength to your dough. If you are fighting slack, spreading loaves, change this before you buy anything.

    Related